Successful implant treatment is directly related to achieving integration and restoring hard and soft supporting structures, aesthetics, and function. It is necessary for the clinician to visualize the final prosthetic result before implant placement and to have a thorough understanding of the surgical and prosthodontic phases of treatment to achieve a predictable outcome.
Advances in computer software technology have enabled digitized information from computerized tomography (CT) scans to be used for implant placement planning. The clinician can view and interact with the CT scan data to pre-surgically place the implant body and visualize the prosthodontic implications.
The clinical evaluation of the partially edentulous patient is based on visual examination, manual palpation, gauging tissue thickness, and evaluation of soft tissue quality. An appropriate radiographic assessment and accurate pretreatment mounted diagnostic casts are also necessary. During the diagnostic phase of implant treatment, a treatment prosthesis is fabricated for the proposed surgical site following conventional prosthodontic protocol. Patient acceptance of the prosthesis will aid in determining if a fixed implant prosthesis is indicated and if grafting is required to change the quantity of bone present to create the fixed type of prosthesis. The aesthetic and functional positions of the teeth should be determined and accepted by the patient before any radiographic or surgical intervention using the individualized patient acceptance prosthesis (Fig. 12). After evaluation and patient approval, the acceptance prosthesis or a duplicate of the existing prosthesis can be used as a CT scan record base and surgical template (Fig. 14).
The most frequently used radiograph to survey implant sites is the panoramic view. A panoramic radiograph provides a two-dimensional picture and reveals little of the true, often complex, three-dimensional bony anatomy. It is not uncommon to discover anatomic conditions different from those anticipated based on the limited available information. When implant placement is considered in close proximity to vital structures, a computerized tomographic survey (CT scan) is required for diagnostic and surgical accuracy. The CT scan produces a distortion-free, three-dimensional image of the underlying bone that can be further enhanced by the use of a radiopaque CT scan record base.
This case demonstrates a unilateral loss of teeth resulting dental changes and the need for replacement. A previously successful but worn mandibular RPD was replaced with a newer RPD of a different design, but bulkier and increased frame work design. This was found to be unacceptable for patient function and comfort. Consideration for implant therapy was decided upon and the diagnostic, surgical and prosthetic consideration of treatment are shown in the following pictures. The challenges were the lack of room to place implants and inadequate bone volume for implant placement.
We understand if you have questions or concerns about the various treatments offered at Reconstructive and Implant Dental Center. So, we invite you to reach out to us at 913-534-8801 today to learn more from our prosthodontist, Dr. EDward M. Amet, about guided implant surgery in Overland Park, Kansas.
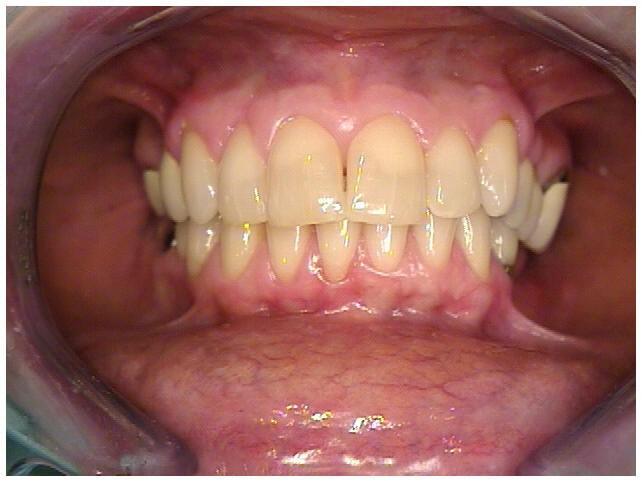
Fig 1. Initial Patient Presentation With Extruded Maxillary and Missing Mandibular Teeth
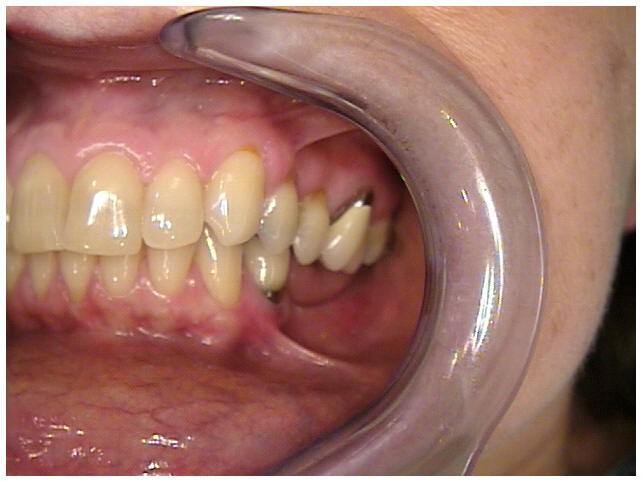
Fig 2. Initial Patient Presentation With Extruded Maxillary and Missing Mandibular Teeth
Fig 3. Initial Patient Presentation With Extruded Maxillary Teeth and Original Mandibular RPD Worn 18 Years

Fig 4. Initial Patient Presentation With Extruded Maxillary Teeth and Second Unacceptable Mandibular RPD NOT Worn
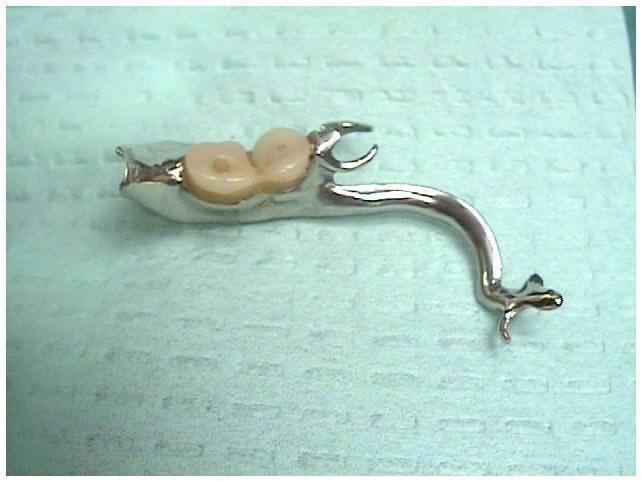
Fig 5A. Initial Acceptable RPD and Second Unacceptable Mandibular RPD NOT Worn
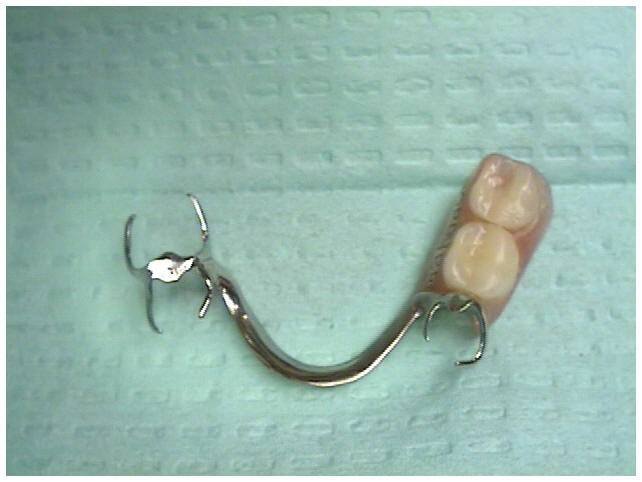
Fig 5B. Initial Acceptable RPD and Second Unacceptable Mandibular RPD NOT Worn
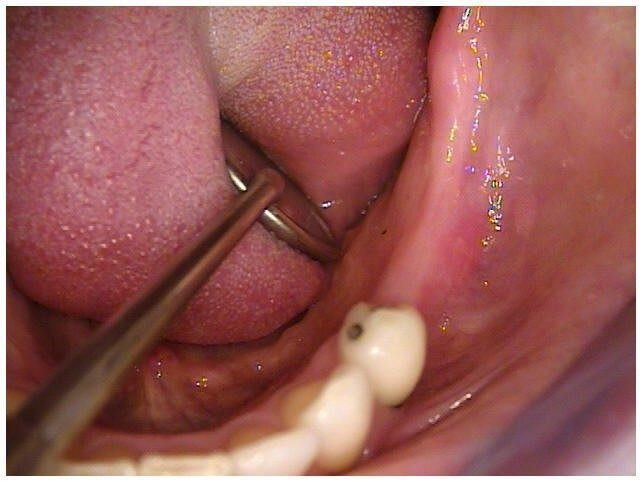
Fig 6. Initial Patient Presentation With Missing Mandibular Teeth
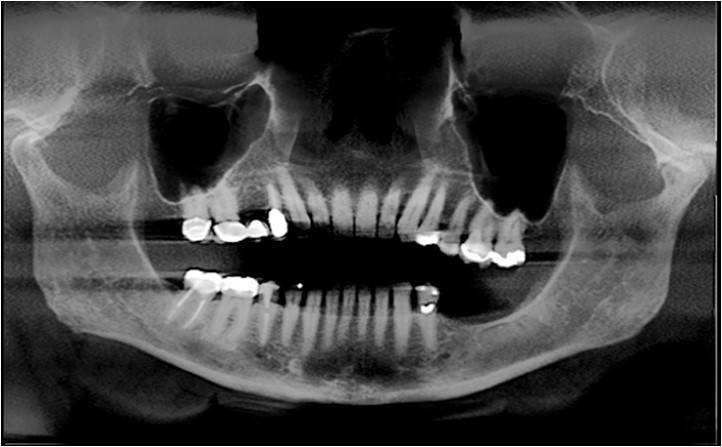
Fig 7. Pre-Op Panoramic Radiograph of Initial Patient Presentation With Extruded Maxillary and Missing Mandibular Teeth
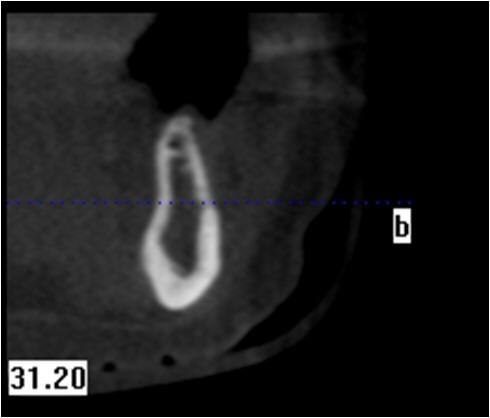
Fig 8. Pre-Op Initial Cross Sectional CBCT Scan of Mandible With Bone Deficiency for Implant Placement Area of Bicuspid
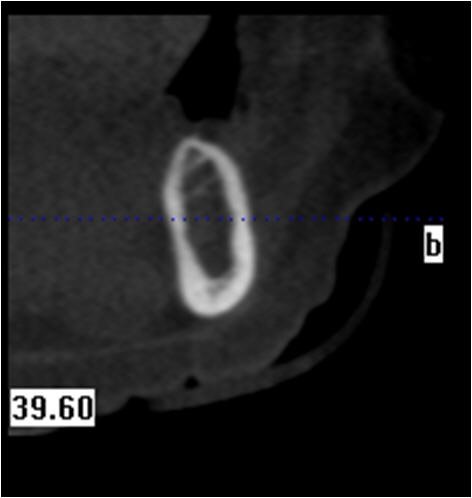
Fig 9. Pre-Op Initial Cross Sectional CBCT Scan of Mandible With Bone Deficiency for Implant Placement Area of Molar
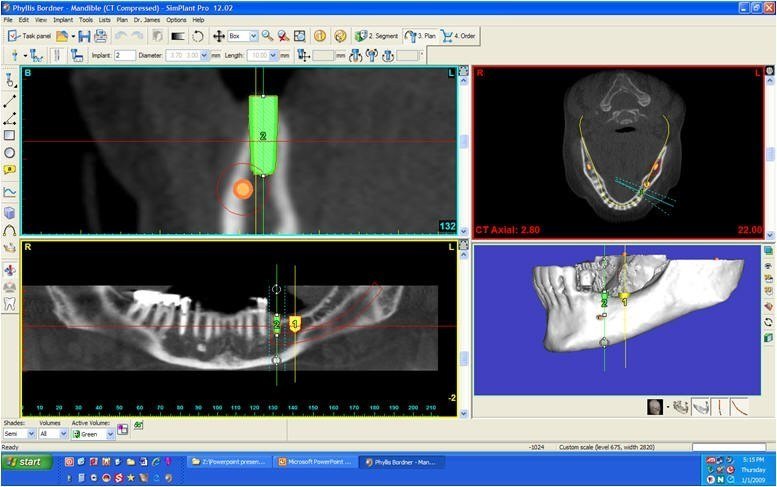
Fig 10. Simplant Study of Mandible With Bone Deficiency for 3.7 Implant Placement of Bicuspid
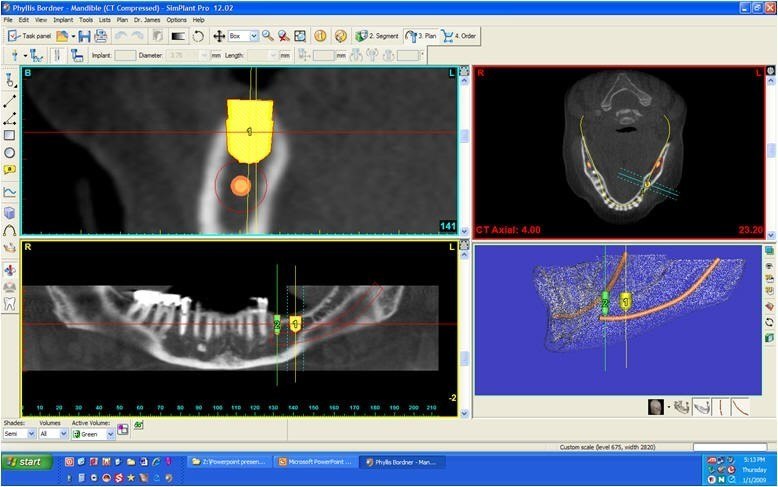
Fig 11. Simplant Study of Mandible With Bone Deficiency for 5.7 Implant Placement of Molar
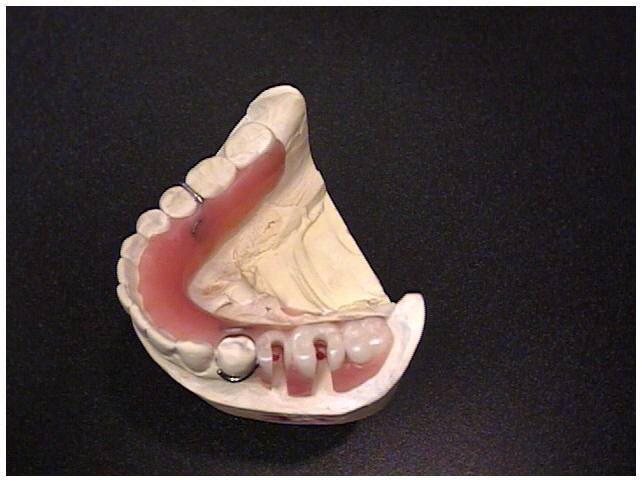
Fig 12. Simplant Radiopaque Guide “Patient Acceptance Prosthesis” and Surgical Template for Mandibular Implants

Fig 13. Diagnostic Cast to Construct “Patient Acceptance Prosthesis” for Mandibular Implants
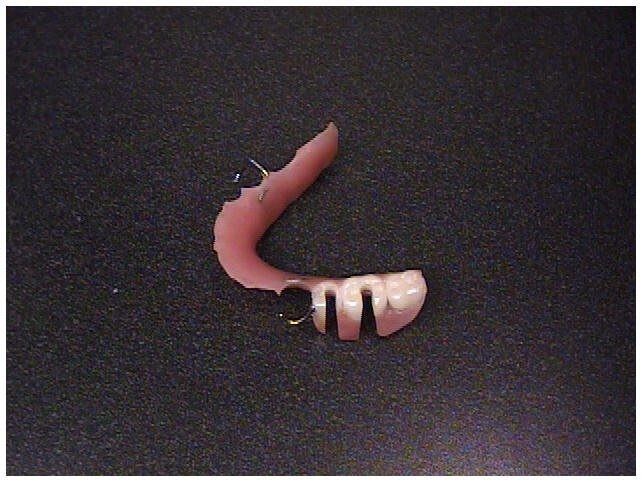
Fig 14. Simplant Radiopaque Guide “Patient Acceptance Prosthesis” and Surgical Template for Mandibular Implants
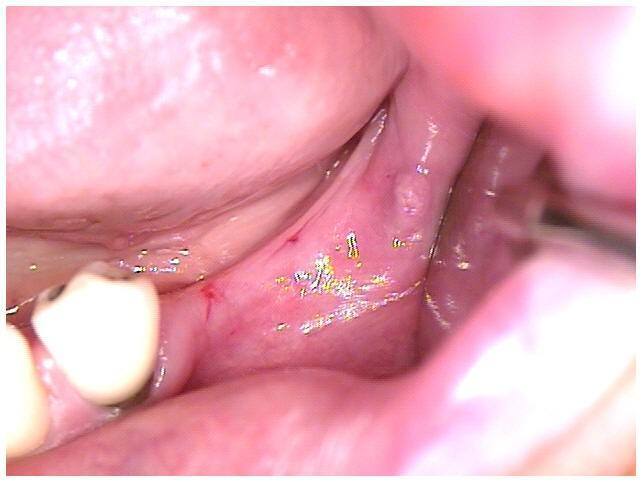
Fig 15. Surgical Template Used to Mark Tissue for Mandibular Implants
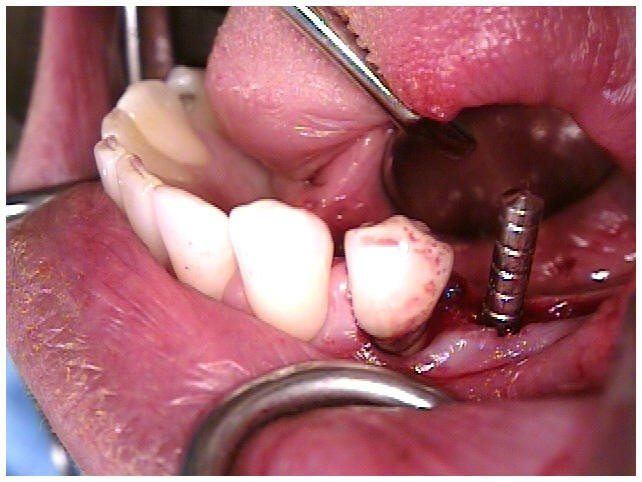
Fig 16. Paralleling Guide Used to Verify Position of Mandibular Implant
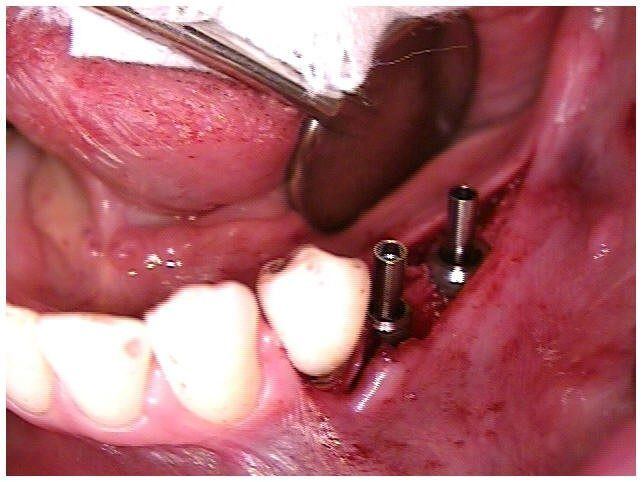
Fig 17. Parallel Position of Mandibular Implants Located Toward Buccal Ridge to Facilitate Membrane Bone Strengthening
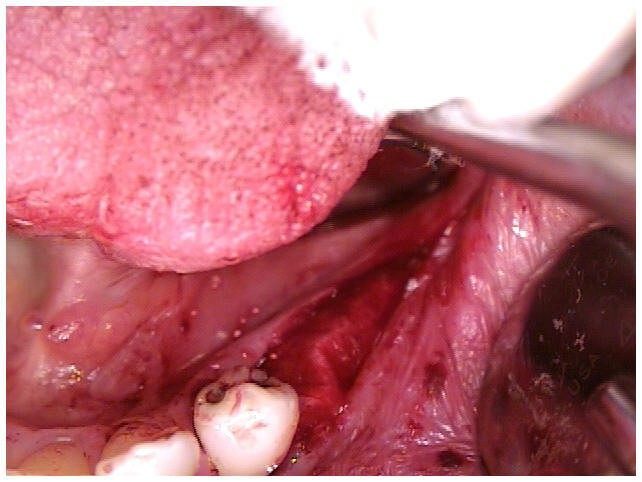
Fig 18. Collagen Membrane for Bone Strengthening Positioned to Cover Mandibular Implants

Fig 19. Primary Closure of Tissue Over Implants, Graft, & Membrane with PTFE Sutures for Bone Strengthening Day of Surgery
Fig 20. Primary Closure of Tissue Over Implants, Graft, & Membrane for Bone Strengthening Day After Surgery
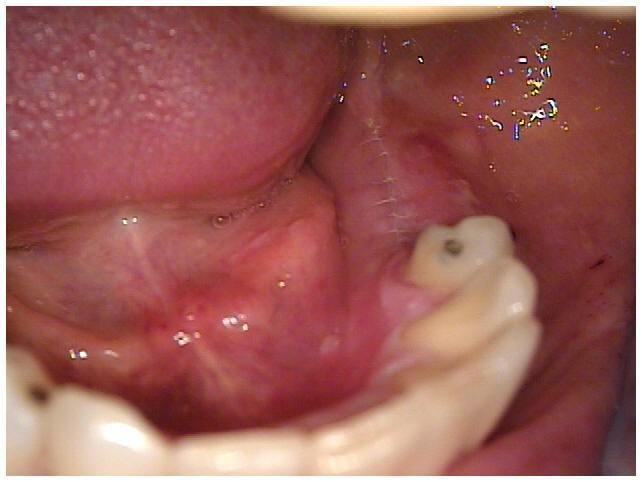
Fig 21. Primary Closure of Tissue Over Implants, Graft, & Membrane for Bone Strengthening Day After Surgery
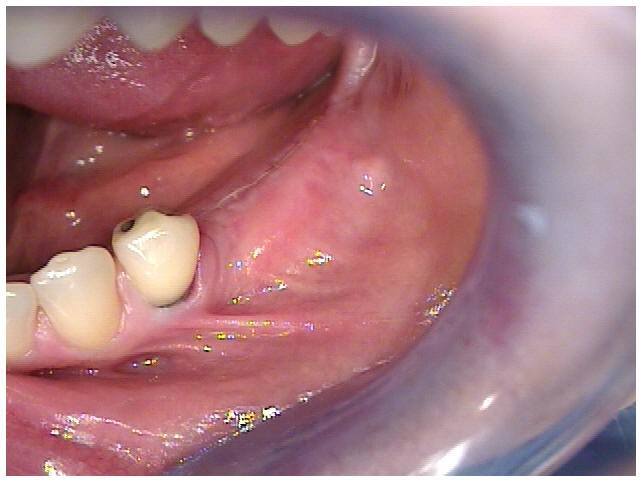
Fig 22. Primary Closure of Tissue Over Implants, Graft, & Membrane for Bone Strengthening 5 Days After Surgery
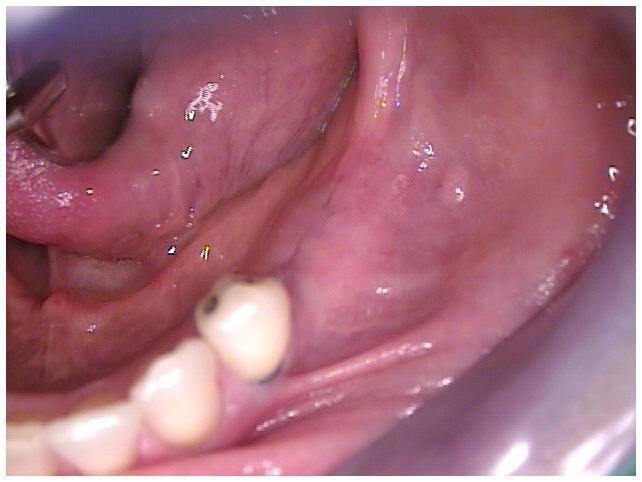
Fig 23. Primary Closure of Tissue Over Implants, Graft, & Membrane for Bone Strengthening 14 Days After Surgery
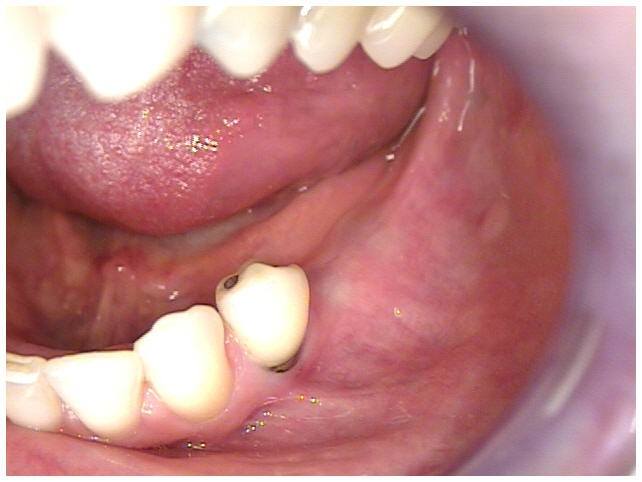
Fig 24. Primary Closure of Tissue Over Implants, Graft, & Membrane for Bone Strengthening 4 Weeks After Surgery
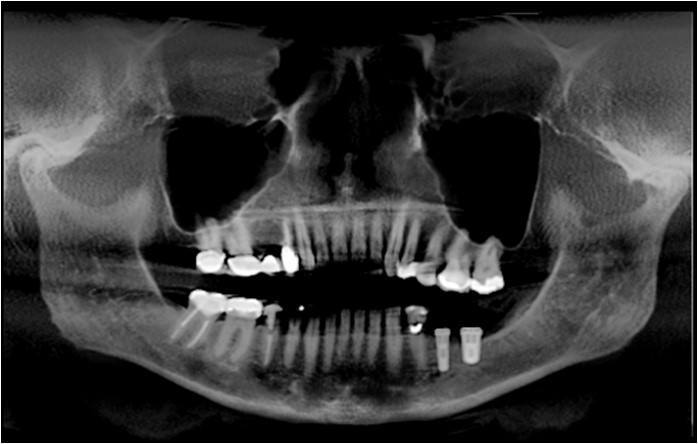
Fig 25. Primary Closure of Tissue Over Implants, Graft, & Membrane for Bone Strengthening Day After Surgery
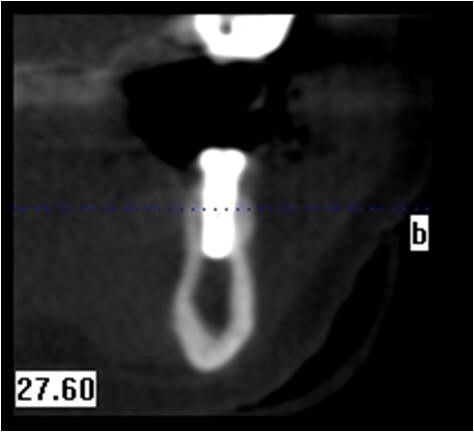
Fig 26. Six Month Post-Op Cross Sectional CBCT scan of Mandible with Bone Graft for Implant Placement Area of Bicuspid
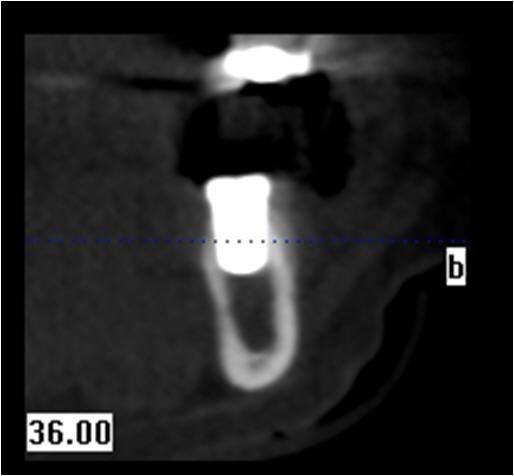
Fig 27A. Six Month Post-Op Cross Sectional CBCT scan of Mandible with Bone Graft for Implant Placement Area of Molar
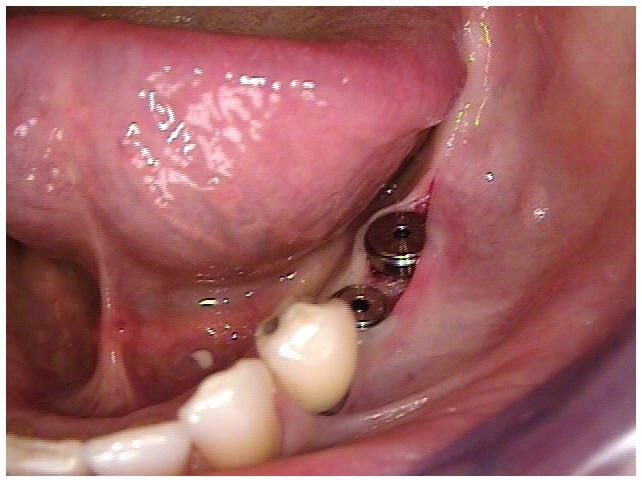
Fig 27B. Six Month Post-Op with Second Stage Surgery
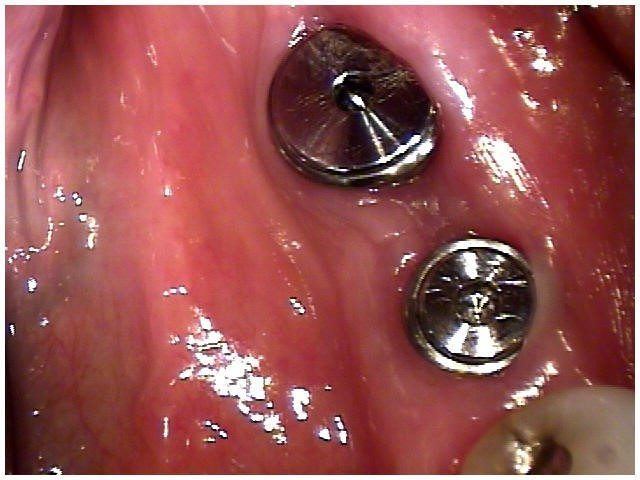
Fig 28. Two Weeks Post-Op Second Stage Surgery
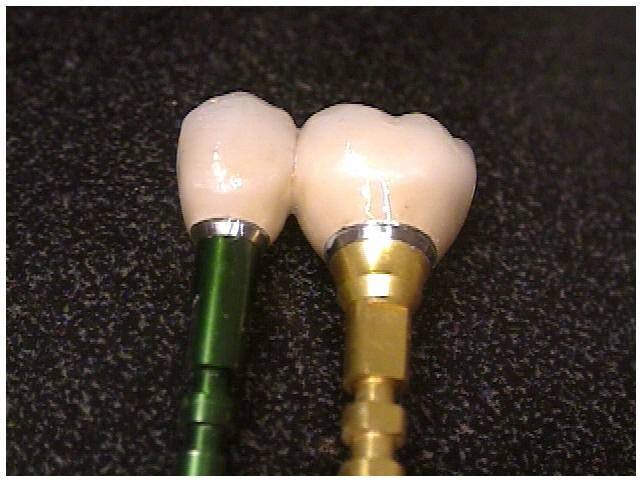
Fig 29. Day of Insertion of CeramoMetal Splint With Custom Abutments Attached to Analogues and Crowns Cemented Onto Abutments Prior to Insertion Into Implants
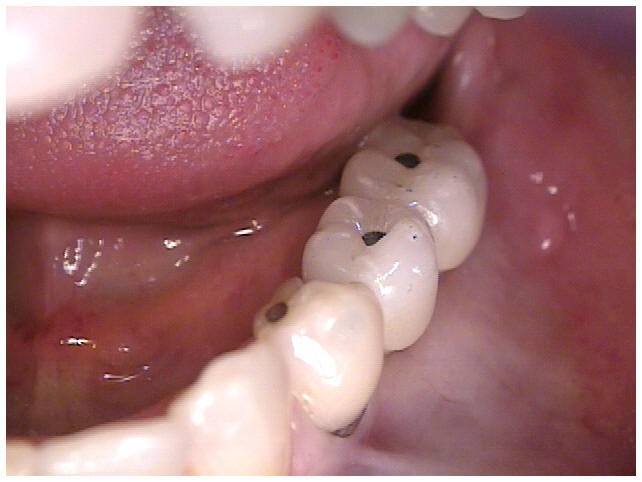
Fig 30. Day of Insertion of CeramoMetal Splint With Custom Abutments Attached to Analogues and Crowns Cemented Onto Abutments Prior to Insertion Into Implants
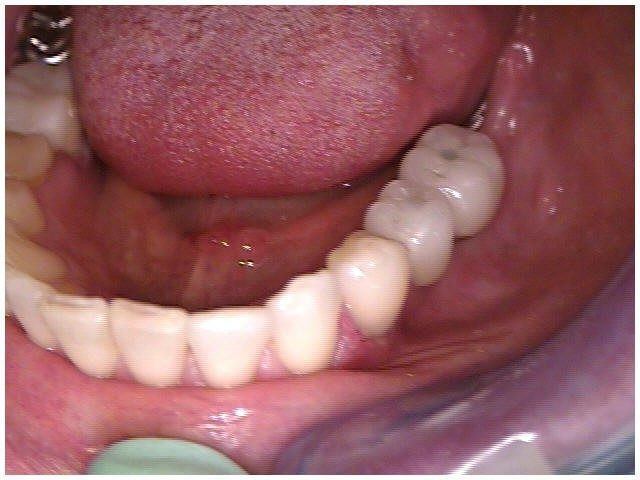
Fig 31. Day of Insertion of CeramoMetal Splint and Screws Torqued to 35Ncm Through Access holes in Crowns. No Cemented Clean-up After Insertion of Splint Into Implants.

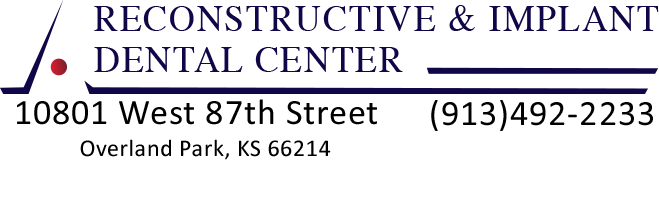
Fig 32. Initial Patient Presentation With Extruded Maxillary and Missing Mandibular Teeth
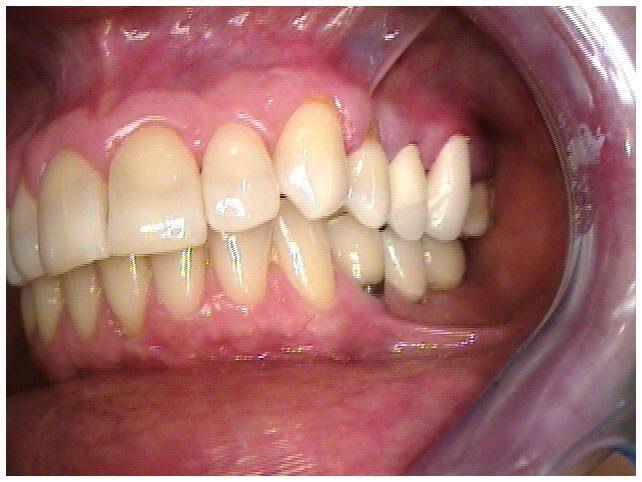
Fig 33. Provisionals Placed to Correct Extruded and Carious Maxillary Teeth
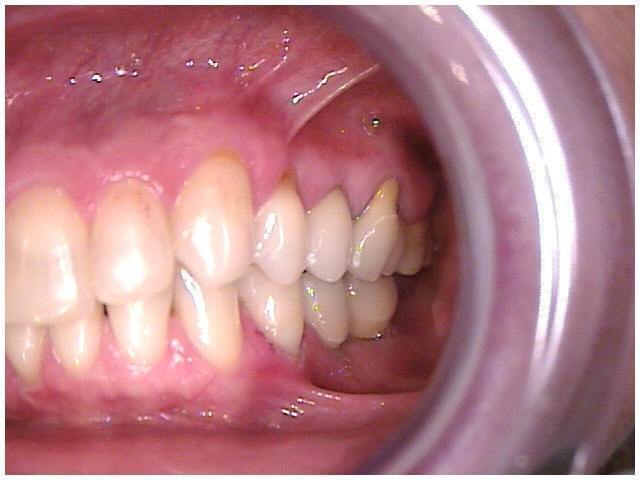
Fig 34. Insertion of Final Restorations Placed to Correct Extruded and Carious Maxillary Teeth
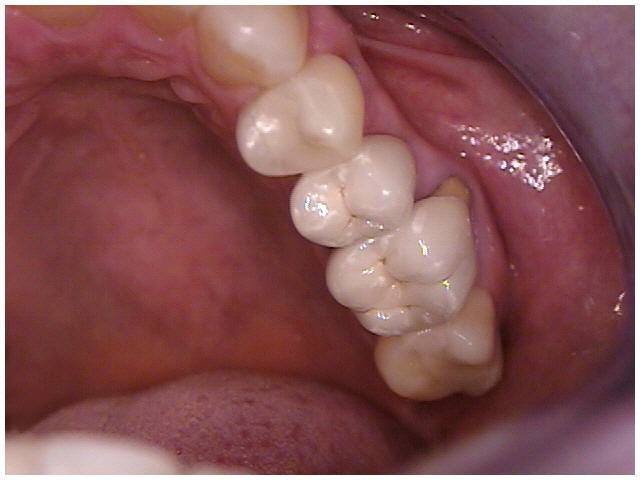
Fig 35. Insertion of Final Restorations Placed to Correct Extruded and Carious Maxillary Teeth